
Editing through these beautiful images today!

William and Sarah :: Beautiful Wedding in Downtown Roanoke at the Patrick Henry Ballroom
LOVE these images from tonights wedding in Roanoke!
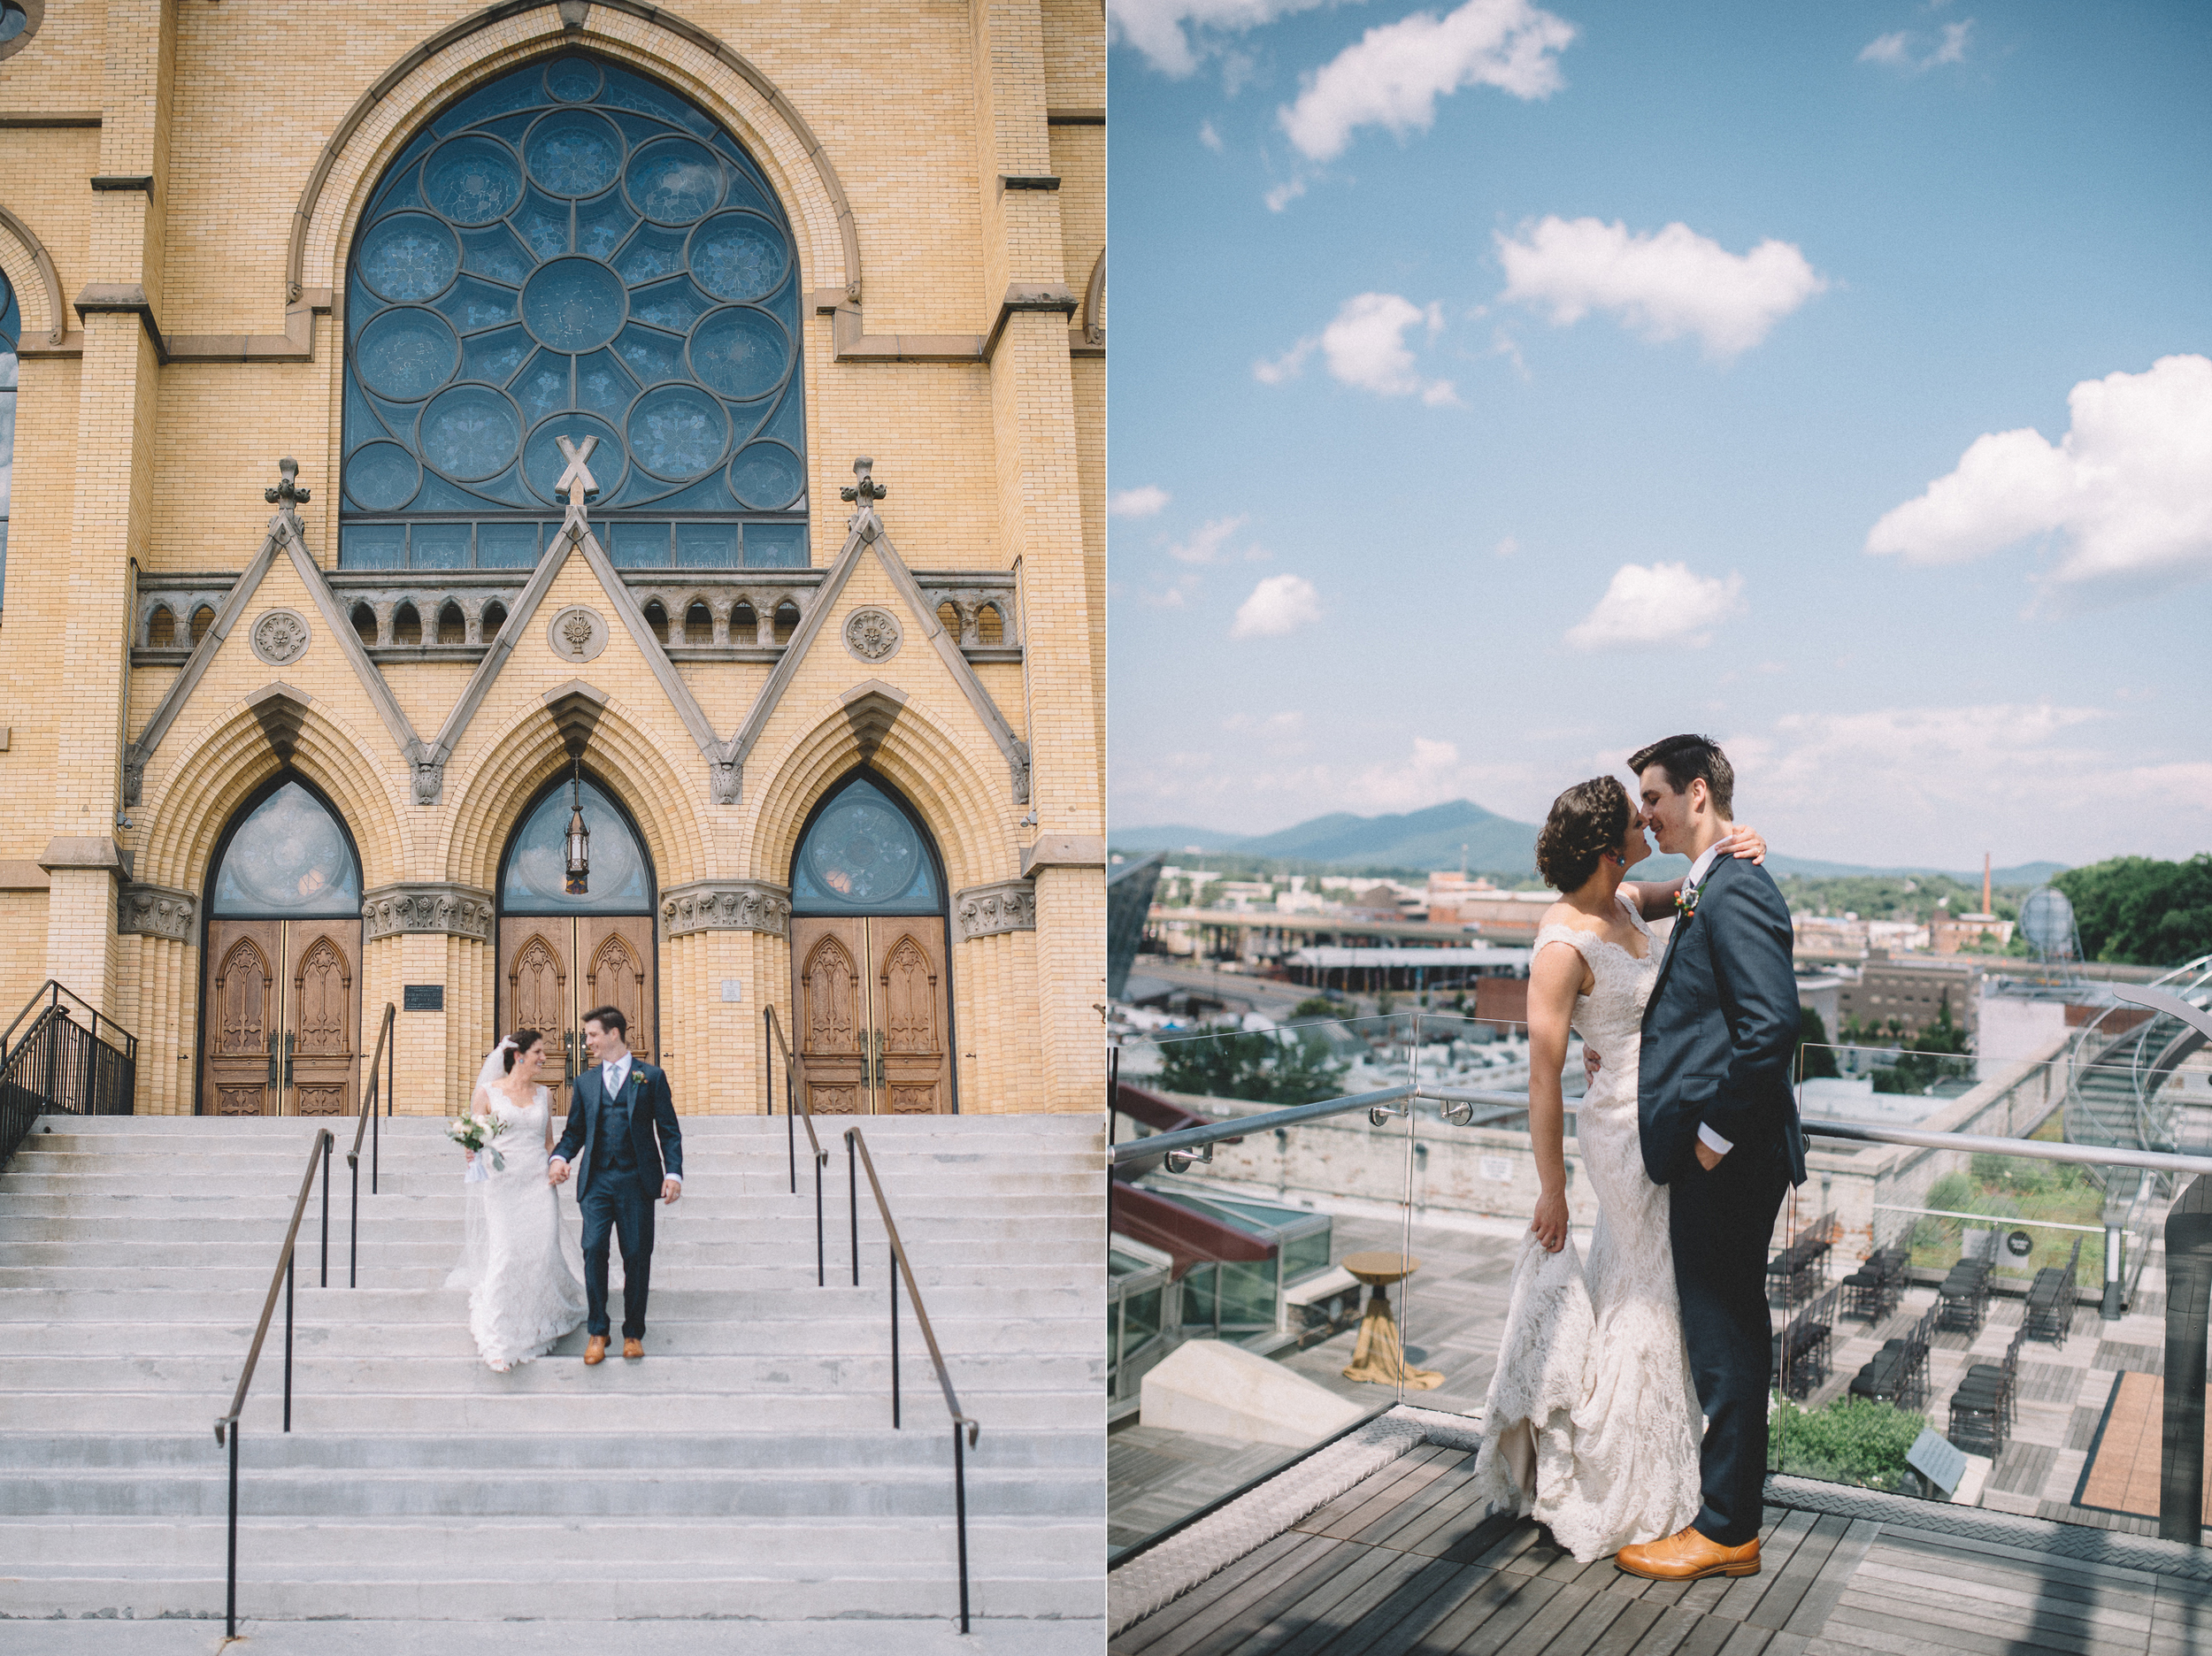
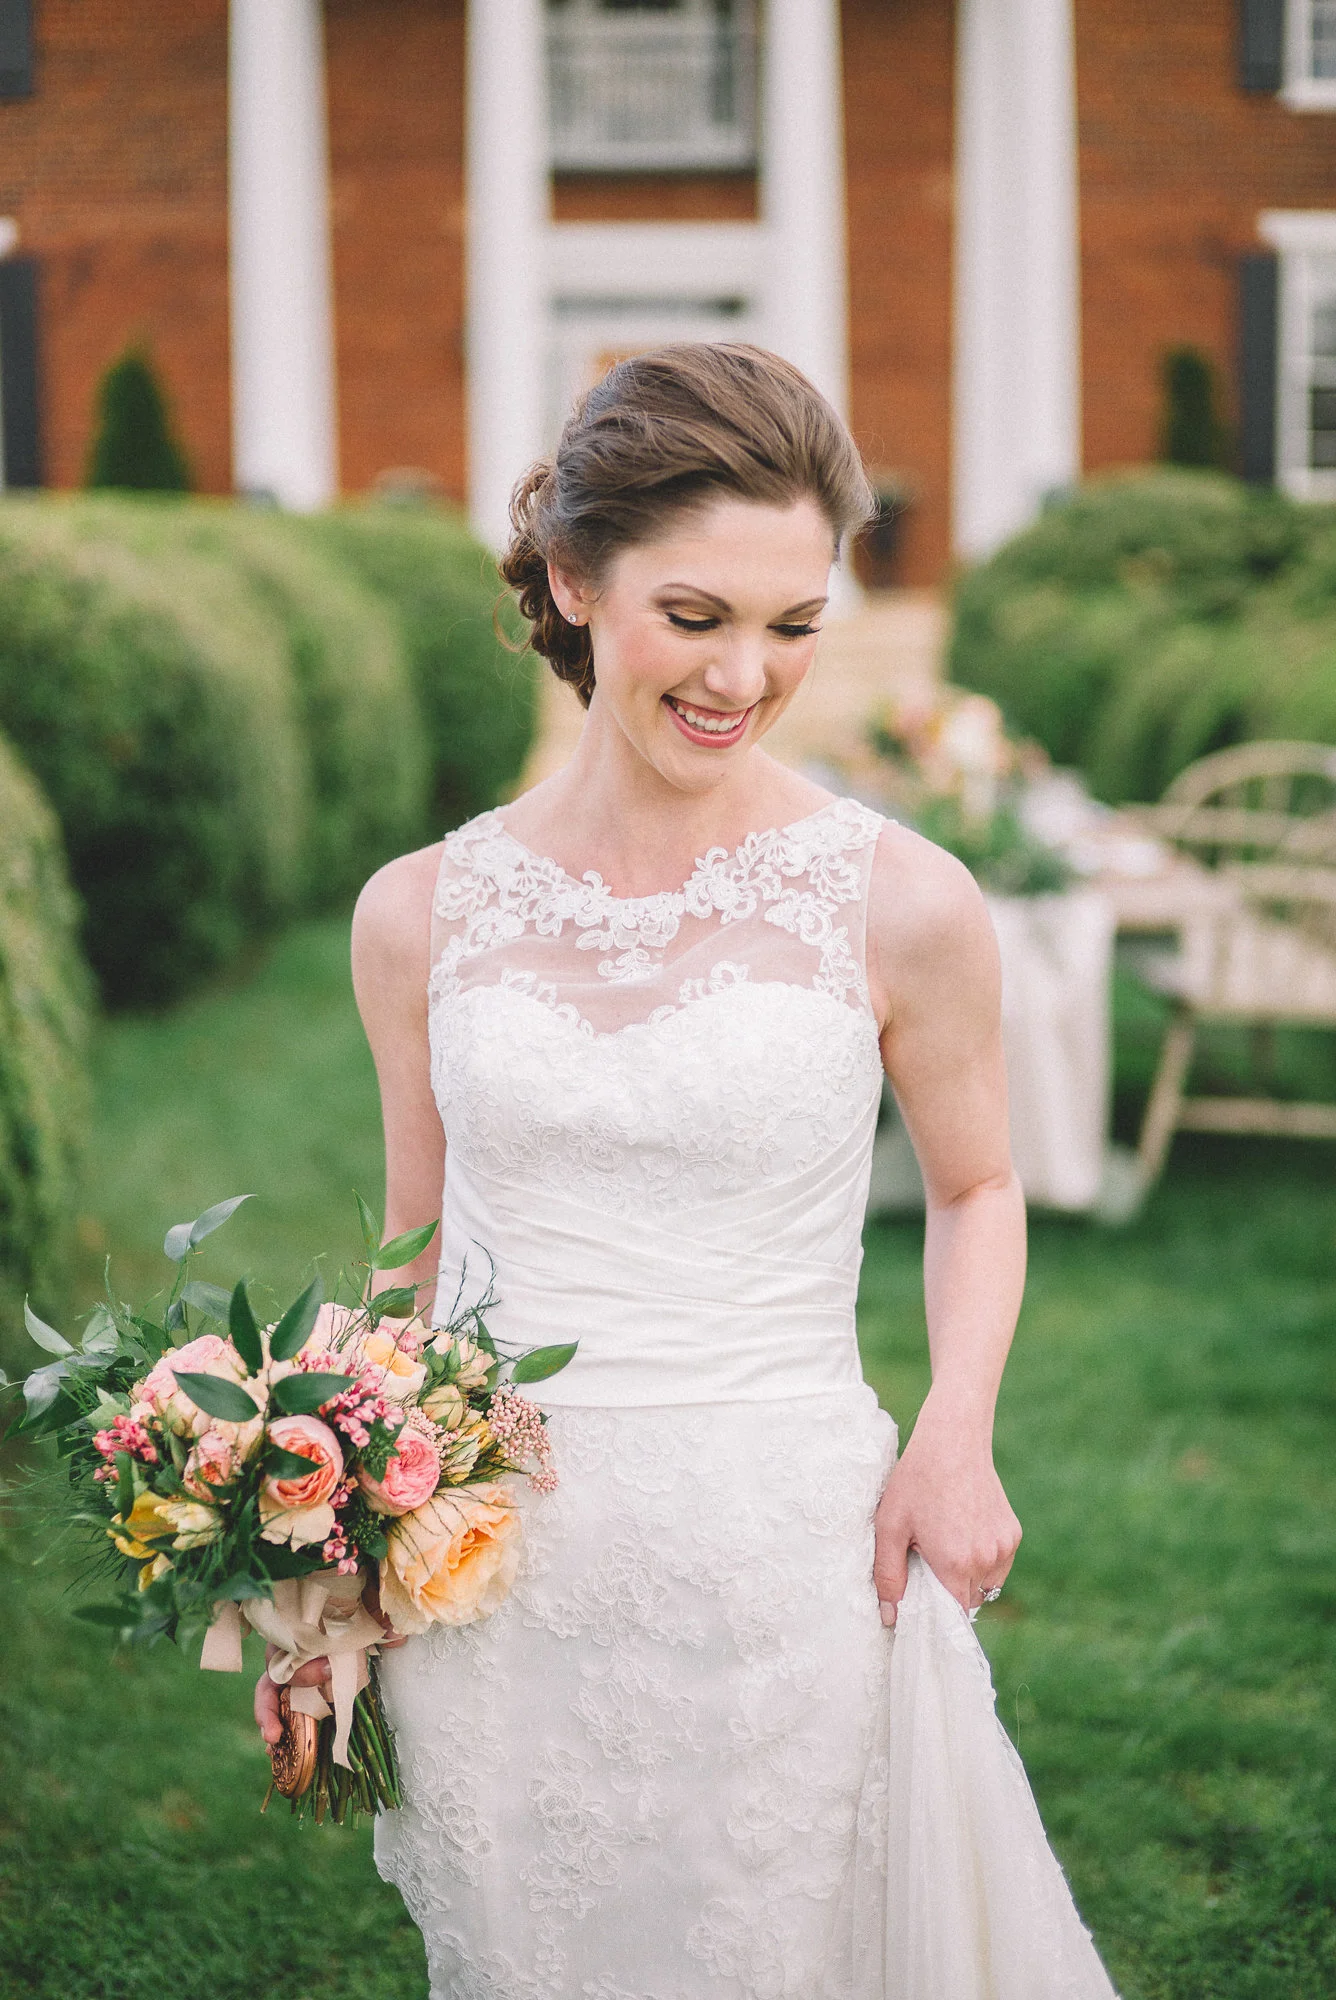
Cara and Sam :: A West Manor Wedding in Lynchburg, Va
Another beautiful image from Cara and Sam's wedding!

Managing Your Email
Managing email can suck sometimes. I know for me waking up to 50+ emails in my inbox can be daunting if I allow it to be. But putting some hard and fast rules in place, and with some really great productivity tools I can make responding, and sending new emails a really manageable task. Here are a few things that have helped me over the past year and can help you go from frustratingly and constantly emailing all day to efficiently managing your inbox!
Set Boundaries - This one is a BIG one. I use a timer and I set time aside for specifically answering emails. This can be tricky. You can be seen as someone who doesn’t respond enough or in a timely fashion so stay on top of this one. For me I start out my work day with emails. And i set 10-20 minutes aside every two hours to answer emails. I should note I also use what I call “throw away time” as well. This would be time spent waiting for my oil to get changed, dr. appointments, etc. But you should be setting time aside every single day! As I said before, I know when I wake up I will have an absurd amount to get to so I need a full 20 minutes to get through that. And nothing gets in the way of that time. On the other side of that, I try not to pay attention after 5pm or so until right before bed. Although that last one is hard for me. I want to use that to spend time with my wife but sometimes I just get caught up! Setting boundaries in your work day allows you to work efficiently, but also take back time that should be used for yourself!
Use Productivity Apps - My life changed with the discovery of delaying or “boomeranging” emails and yours will too. Here are a few that I use religiously;
Outlook - Yes I said it. I am an apple user and I use Outlook. But only on my iPhone. My iPhone is a work horse when it comes to “GTD Apps” and work stuff and it is truly hands down the greatest mail client on the planet for the iPhone. I for some time used Mailbox, and it was great but it was buggy. I love that Outlook connects to my dropbox and google drive accounts, and also gives me full access to my calendar all within the app. For someone who gets distracted all the time by God knows what, to be able to stay in the app and stay focused on what I am doing is huge for me.
GMAIL Tags and Filters - This one helps me with organizing my email. I like to be able to have a snapshot of new client inquiries, contracts sent, and a whole bunch of other things. If I need to go back and see information on something specific this can be really helpful for me.
Boomerang - This is the single greatest plug-in EVAAAAARRRRRR for gmail. Boomerang gives you the ability to delay sending emails, but more importantly for me, receiving them. You can snooze your email inbox all together, or have emails sent back to you at a certain time. For example, If I don’t get through those 50 emails in the morning I have the ones I need to work on, sent back to me in 2 hours to finish. If a bride sends me logistics information for a wedding a month from now, I can have that information resent to me in a month! I am obsessed with this feature! Side note, Outlook does this too and is another reason why I love it.
Managing email doesn’t have to be a brutal task. With a few small steps and with the help of some of the best technology, you can take something so annoying as hell like email and you can make it something you can plow through with ease! And don’t forget to let us know what you guys use or what helps for you!
Made Easy Series :: A Photographers Tool
When I first started taking photos I was terrible at it. TERRIBLE! I had no idea how to compose an image, and no idea how to create an image. I'd fumble through the settings, and on the rarest of occasions I would get it right. It would all come together and I would take the worlds greatest photo. Well, at least my best photo at the time. And let's be honest, after some time spent admiring that photo I would begin to think to myself, "How the !#@$ did I do that?"
Photography isn't easy. It requires thought, and it requires time to get good at. But some of us just need help understanding the very basics. That's why we are excited to announce that we have launched a Made Easy Series of eBooks to help you navigate the basics. No, this isn't for everyone. But this is a series designed to help you understand the basics so you can focus more on developing and curating a style, and focus less on figuring out how to setup your camera for any one situation.
Head on over to http://www.samstroudphoto.com/made-easy-guides/ to find out more!

A Weddings Unveiled Feature
Thanks to our friends over at Weddings Unveiled for this incredible feature!!


Jim and Lauren
Such a beautiful wedding yesterday at Sundara!

Wedding Photographers - 3 Ways to Stop Sucking Today
Please hear me out. I am not saying you suck at this. And I am by no means excluding myself from that title. But I am about helping other photographers in this industry filled with megalomaniacs who care little about your success. And these three things have helped me TREMENDOUSLY over the last 4 years grow as a photographer AND as a business. (I keep them written down in a little moleskine notebook) Plus let’s be honest, I am not super clever and this was what i wanted to write about so it’s as clever as I get!
1. Be Prepared - You have heard me say this so many times! BE PREPARED! This starts well before the wedding day. It starts with your gear, your timeline, your contracts and your interactions with the bride and groom. I am incredibly regimented about this. And I am, generally, not regimented about anything. Let me give you an example of what I mean;
Last year as I was getting ready to start shooting a wedding, I pulled my gear out of my bag, strapped my cameras around my shoulders, bent down to start shooting some details and I heard and felt a pop right around my zipper region/area/whatever you want to call it. I looked down and sure enough my brand new suit pants had ripped at the zipper. I had been there for maybe 5 minutes and this was how I was starting out the day. FANTASTIC. So I stood there for a second, in a room full of bridesmaids, staring at my wide open zipper thinking to myself, "I want to punch a kitten right now." It’s moments like that, that make me so rigid about preparation. And I am not rigid about anything! But had I not had an extra pair of pants in my car it may have thrown me off the whole day.
And this just doesn’t apply to pants. What if that was a camera or a lens? This applies to back up bodies, multiple cards, multiple shot lists, recorded emails... basically EVERYTHING. Bottom line, prepare yourself for the day. Assume the worse things could happen on that day and correct whatever you can to fix it BEFORE it happens!
2. Asking for help - This is a big one. There are so many photographers who have gone before you and have struggled through all of the things you are about to struggle through this year. Ask for their help! Some offer mentorship programs. Some offer workshops. Some will slam the door in your face. Screw those guys, we don’t want their help anyways. But find someone you respect, it doesn’t matter who it is, and ask for help!
3. Comparing yourself to others - This is another one you will hear me preach and preach and PREACH. I know for me, I don’t even look at wedding photography at all. There are some I follow on Instagram, and some I am friends with on Facebook. But generally speaking, I just stay away from the industry as a whole because I know I can begin to slowly go down that rabbit hole of wondering why I suck and they don’t. You may be able to, thats fantastic. I can’t. I look at a lot of other things for inspiration. You should to!
There are a lot of other things we could add here. But these are 3 big things that helped me so much over the last few years. You may of needed this you may have not. But I just want to encourage you to keep at it! Keep working hard, keep putting in the time and remember we get to do what we love! Let’s DO this!
For more info on our mentorships and workshops check us out at http://www.samstroudphoto.com/mentorships/
Reid and Amanda :: A New York Wedding
These two!!!!

Elisha and Codi :: Virginia Beach Wedding Photography
Finishing these up today! SOOO good!

Ben and Laura :: Nashville, TN
So pretty!

Katelyn and Steve :: University of Virginia Engagement Session :: Charlottesville, Virginia
beautiful engagement session tonight at the University of Virginia!

Card to Cloud
One question we here a lot is "what do we do about backing up our images?” We often get a surprised look when we talk about the lengths we go to on the day of to protect our images but in my opinion it is paramount to what we do; protecting the images! I mean i bring two shirts, two suits, and to pairs of shoes to me to every wedding JUST in case!
I preach process, process, process! If any of you know me the slightest bit you will know that I am not a detail oriented person. So a process helps me get through from point A to point B. Otherwise I’d lay my camera and card down in two different places and never find them again. Hell, I can’t even begin to tell you where my camera is now… damnit. Regardless, process, process, PROCESS is the key!
Think about some of these things;
a. Where are my images stored?
b. How many cards to I shoot with on the day of?
c. How am I transporting my cards on the day of or after?
If you don’t have a definitive answer for this every single time I would encourage you to make a change!
SO, I am going to go look for my camera. And while I do that, here are three things you can do TODAY to ensure the integrity of your work after you have shot the wedding.
1. PROCESS PROCESS PROCESS - I already said it annoyingly enough but I can’t stress it! This begins before you book or show up to the wedding. Stop what you’re doing right now and think about what is your process for delivering the image? Now work backwards. For me when I get home my images go in two places. I store them locally, and then I store them on my Drobo. (4 4 TB hard drives) and then a background process runs when I go to bed that backs them up to the cloud. And when I delete things, and move files all depends on where I am in the process. Figure out whatever it takes, step by step, to ensure you are maximizing both your effort and efficiency!
2. Stop Shooting on 1 Card and Use 2 Cameras - Ugh. this one is super annoying. But I do it. 8 or 16Gb cards is all I shoot with. And they are labeled, Pre Ceremony, Ceremony, Reception, Portraits. But the purpose is if you lose 1 card, you don’t lose the whole wedding. Just a select few images from one camera.
3. Day of Storage - PROTECT YOUR CARDS! On the day of I carry my cards around in a super hard thick shelled card carrying case. I use this. It’s both shock and water proof. DO IT. BUY IT.
4. Use External Hard Drives - I use this one. For me, it works. We go through hundreds of weddings a year. So for me this is necessary. However, some of you can get away with 1 single 4 or 2TB hard drive. Buy whatever you need to make sure you aren’t storing images in one place. If your images are on your iMac only and your iMac crashed what will you do then?
5. The Cloud is Your Friend - As creepy as that sounds, cloud storage is a way to buy (cheaply) off site storage for “just in case” peace of mind. There are so so so many options. I use Crash Plan. It’s cheap and easy to access and store offsite. It takes a little time to setup and back up. But its well worth it!
Alright that’s it! Let me know if you have any questions, or let us know what services you use OR what works for you best!
Telling Their Story :: It's in the Details
I get asked a lot about my approach to shooting the details on the day of. I think it’s easy for us to view the rings, the shoes, the flowers etc. as singular objects that the bride and groom pay for or use to “pretty things up”. And while that may be true to some extent, it could also be that they are key elements that they use to tell a greater story.

Mark Twain once described the ability to tell a story as an art, both “high and delicate”. And I totally agree. The details of the day of are describing a resounding character or quality our couples possess that can be easily overlooked as we plow through our damned shot lists. And when we do that, we miss the point and purpose of what we are doing. So here are a few things that I try to consider each wedding day, that may help you as well;

1. Stop and Explore - The first thing I do when I get to a wedding is drop my camera bags (with my cameras left in them), and go explore. I look at the venue, and the reception site. I look for what is setup. I look for colors, and I try to determine some kind of theme that will help me better understand my bride and groom. Is it rustic? Is it Classic? What is that one theme and how does it fit?

2. Don’t ignore the small - I don’t mean this in the sense that "there are small objects, so go photograph them too”. I mean thematically don’t ignore the small! If you have a bride a groom, and you have them in a field and you have the sun setting behind them and you have this incredibly beautiful image, yes take it. Use all of the environmental imagery to create that once in a lifetime image. Those are details too! But there are also smaller details you can work down to. Their hands, how her hair is moving when the wind picks up, the detail in his suit. It helps me to think big, and work my way down.

(Images like this are as much a portrait as they are a detail shot! His and her shoes, her earrings, and dress!)

3. Be present without being present - I am going to admit a HUGE mistake I have made in the past 2 years and it pains me to say it. I place a HUGE amount of weight on the relationship I have with my bride and groom. I have for so long preached that you are what makes them comfortable so play that card. I have though, at times, used that to my detriment. There is a comfort level or relationship that exists that allows me to interact with them in a way maybe another vendor can't. And then I will see a beautiful moment unfolding between the bride and groom, or the bride and her father, only to recognize quickly that they know I am there and are in some small way still interacting with me. So this year I have had to pull that back a little. And when it comes to viewing these moments as little details in a bigger story, its paramount that you are seen without being noticed.

4. Stop being objective - Journalists and news photographers have to be objective. And to some degree we are too. We shoot what we see. However, put yourself in that moment or in their shoes when viewing the details. It changes how important photographing something really becomes when you personalize it. I have had some strange requests to photograph some strange details. But the reality is, what becomes absolutely strange and odd to me means the world to someone else.

So what do you do when you approach the details? What can you change? Remember the details are a bunch of small pieces that by themselves just seem unimportant. But when you begin to put it all together, the begin to give us context and help us tell a bigger, more greater story about the people we get to photograph!
Shooting The Exit
Shooting the final exit or departure at a wedding can be a real bitch. What I have found is that it can be the most unpredictable, most volatile, and most difficult moment shoot. And when I first started shooting weddings I didn’t even want to begin to think about taking a stylistic approach to it. I wanted to turn my flash on, fire away and hope I got it.
One of things I preach in our workshops is “know the gear you’re shooting with”. The only way you can really do that is to practice, practice and then practice more. Fortunately I am at the point now, 4.5 years in, I have seen and shot the exit 200+ times! And at this point for me I have seen every variation so it’s become about paying attention and just expecting that something will go wrong. And with a fast moving exit, fire and drunk people, lots of crap can go wrong.
(For the sake of this article we are going to focus on the sparkler exit! There are so many ways the bride and groom will exit, however we MOSTLY see them exit to sparklers)
The Approach
As the night begins to come to a close, I will generally slip outside and take a look at where the exit is going to happen. Even if I have shot there numerous times, I still want to see what the path they take will look like. I want to see what will be my background, and if I have any ambient light to work with. I then will almost always communicate with the coordinator on a couple of things.
1. Please please please PLEASE check with me right before you give the couple the go ahead. I just want to make sure, again, I am totally ready for them to come out. Also side note, don’t be the reason they are being held up. Get out there before everyone else and get your head right!
2. I will also ask that once they have the couple exit, have them stop and either wave, kiss, or whatever. This gives me a brief moment to shoot, and while shooting I can see my meter and know that I am ok. If I have not for some reason set up my camera to shoot correctly, this gives me a chance to fix it and get back to shooting
The Gear - The Setup
I’d be lying to you if I said I nailed it every time. Really, in that moment I am hoping to get it close enough. Sometimes I crush it a couple of times I have totally blown it and blamed it on the drunk uncle getting in the way. (totally kidding... sort of) This is where having the right gear helps. Some will tell you that you need an off camera flash or an assistant holding this over there and this and that. Some of that might be true. I think most of the time it’s over kill. Ultimately it comes down to personal style. For me, I like the consistency of using natural light.
You absolutely can set up a flash and get fantastic images every time. If you care to, set up an off camera flash to the side, roughly 5-10 feet away, (off to the side angled towards them, use an umbrella to soften the light) set your camera’s ISO anywhere from 400-800, set the shutter speed to 125, shoot at 2.8 to 3.5 and call it a day! Again I LOVE the look of using the sparkler and other natural or ambient light to help style the image. I shoot the exit just like I shoot the wedding day. Exclusively with my Canon 5D MK3 and my 50mm 1.2... all day every day
I use this setup for a few reasons;
1. The Autofocus is fast - and I mean blazing fast. I can’t imagine to try to do that with my Leica. I love my M, but the payoff isn’t there.
2. The MK3’s low light capability It's ridiculous. (Nikon users i am sure the D800 and 810 are great too) While I rarely find the need to, I could shoot up to 6400 with zero issues.
3. The 50 1.2 is the greatest lens that has ever walked this fantastic planet we live on. Well if it had legs, and was a living/breathing thing it would be. Regardless, the 50mm 1.2 has the ability to shoot fast and sharp in any condition. And in the dark that is crucial. Over time I have found the 85mm 1.2 to be too slow (focusing), and the 35mm 1.4 a little soft (in low light) at 1.4 for my liking.
To recap - I shoot almost exclusively, again, in Aperture mode and my ISO is always set anywhere from 800-3200, I spot meter, and always shoot wide open at 1.2
A Few Examples
Here are a few examples, before and afters, of sparkler exits I have shot in the past with some commentary
ISO 1600 :: Shutter 125 :: 1.2
Here you can see not much of an exposure and white balance adjustment. You will notice a little bit of a chromatic aberration in the sparklers themselves. That is the downside at times (rarely) with shooting wide open. However, That can be fixed in LR
ISO 1600 :: Shutter 125 :: 1.2
ISO 2000 :: Shutter 125 :: 1.2
You can see a bit more of an exposure and white balance adjustment here. Also, there was a incredibly drunk guy right behind me with 7 sparklers or so and when I stood up, he almost set me on fire. Whatever it takes for the shot right? RIGHT?
ISO 6400 :: Shutter 125 :: 1.2
This was exit was a little bit more difficult as there was almost ZERO light before they lit their sparklers. This is at Sundara, a favorite of venue of mine, and where they generally have them exit is just a really dark area. So I had to bump up my ISO here, and you can see in post I adjusted the WB and exposure.
I hope this has been helpful for you guys! Again, knowing your gear and practicing is so crucial to getting it right! You can free yourself from trying to get it right technically and start focusing on developing your voice in your work!

SSP Workshop :: West Manor :: Lynchburg, Virginia

Courtney and Brian :: Richmond, Va
Eric and Courtney :: Richmond, Virginia
So pumped to hang with these two tomorrow in Richmond!

Lindsay and Dustin :: Lexington, Virginia
Those Mountains!!

SSP Workshop
We are so excited about our upcoming workshop next week. Make sure you are signed up because we will be closing registration soon! Seats are limited and we only have a few left! For more information check out http://www.samstroudphoto.com/ssp-workshop/
